Understanding the Professional Landscape Design Process
Starting a landscape project on Melbourne’s sloping terrain often brings up more questions than answers. You might wonder how a steep gradient impacts your budget or if council overlays will restrict your vision. A clear roadmap eliminates this uncertainty.
At David Claude Landscape Design, we have spent 30 years mastering the complexities of north-eastern and inner-eastern suburbs through our landscape design expertise. Managing drainage on clay soils and securing permits in areas like Manningham or Boroondara requires a specific approach. While every property presents distinct challenges, the path to a finished garden follows a proven structure.
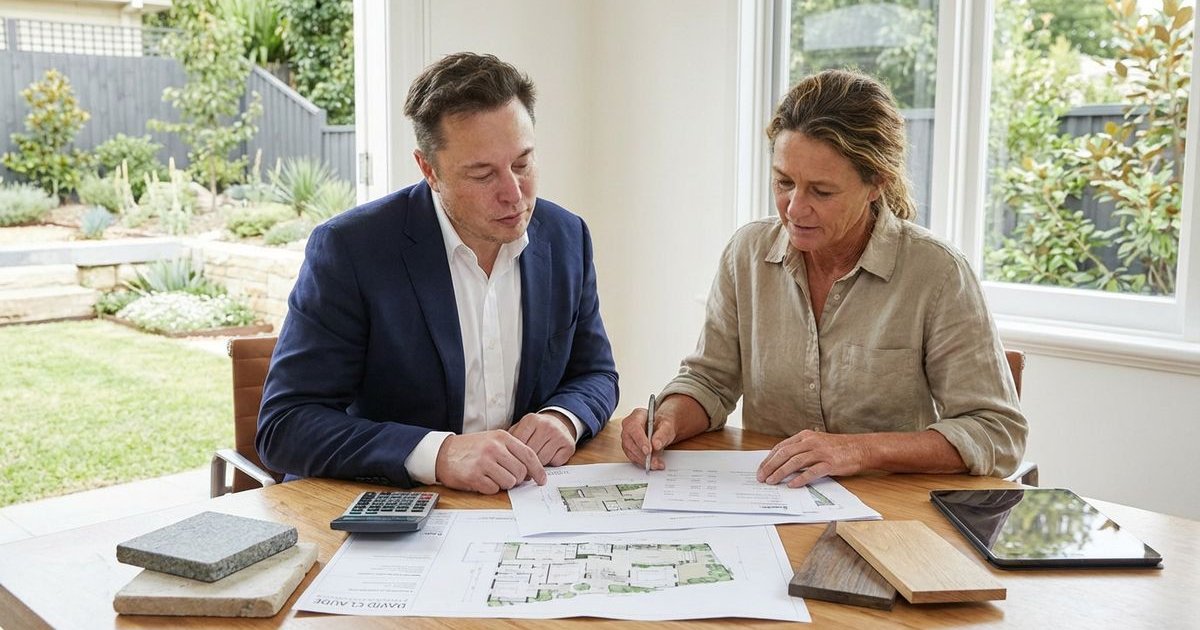
Stage 1: Initial Contact and Brief Discussion
What Happens
Your project begins with a focused conversation to establish the basics. We will ask about the specific “pain points” of your property right away.
Discussion points include:
- Site Accessibility: Issues with side access or steep driveways that might affect machinery.
- The “Wish List”: Whether you need a pool, a retaining wall solution, or an alfresco dining area.
- Budget Reality: A frank discussion about investment ranges for construction in the current market.
- Timeline: Your ideal completion date versus current industry availability.
What You Should Prepare
You get the most out of this call by gathering a few key details beforehand.
- Council Information: Check if your property has a Vegetation Protection Overlay (VPO) or Heritage Overlay.
- Underground Services: A quick check of “Before You Dig Australia” (BYDA) plans helps us identify major easements.
- Visual Inspiration: A Houzz or Pinterest board helps us understand your style instantly.
- Current Site Plans: Any existing house plans or previous land surveys.
Outcome
We determine if our expertise matches your project’s complexity. A scheduled on-site consultation usually follows this call if the fit is right.
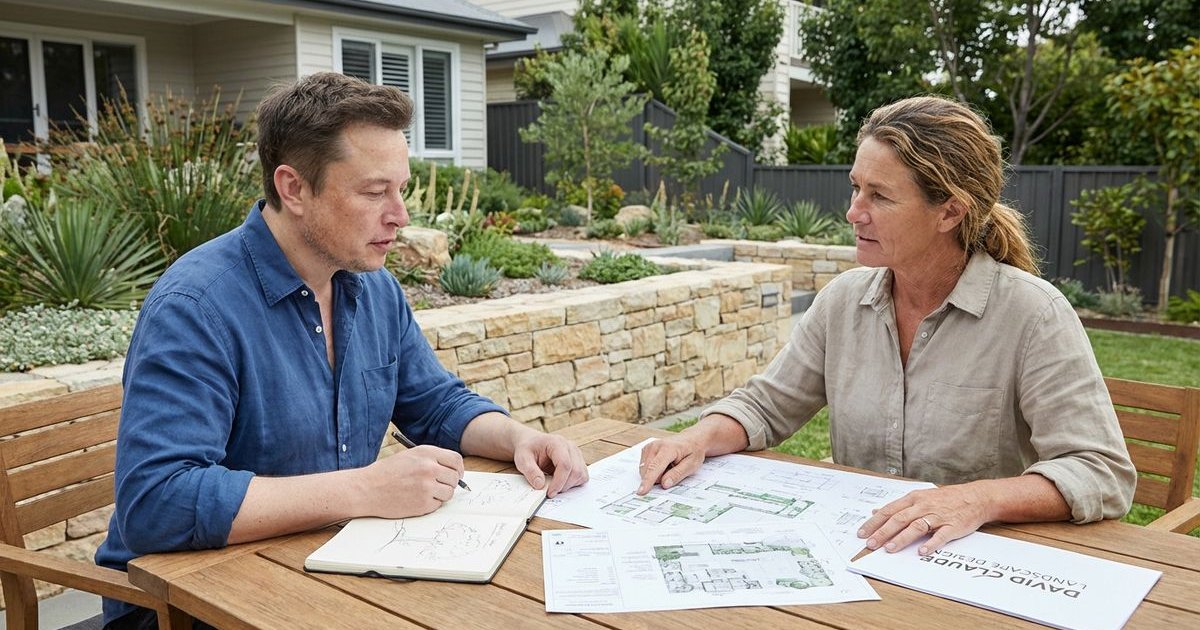
Stage 2: On-Site Consultation
What Happens
The on-site visit is where we analyze the physical reality of your land. We spend 1-2 hours investigating the constraints and opportunities that a phone call cannot reveal.
Site Assessment
- Topography Check: We look for significant level changes that trigger the need for engineered retaining walls (generally anything over 1 meter high).
- Soil Evaluation: A visual check for heavy clay or rock, which is common in the north-east and impacts drainage costs.
- Existing Vegetation: Identification of regulated trees that may require an arborist report.
- Microclimate Analysis: Observing sun paths and prevailing winds that affect plant survival.
Vision Alignment
- Lifestyle Review: We discuss how you move through the space, especially regarding indoor-outdoor flow.
- Problem Solving: Direct conversations about screening neighbors or managing surface water runoff.
- Budget Verification: We provide a verbal reality check on construction costs based on 2025/2026 market rates for materials like bluestone or corten steel.
Process Clarity
- Regulatory Roadmap: We outline which specific council triggers your project might face.
- Fee Structure: A clear explanation of the design investment versus the construction budget.
What You Should Prepare
Preparation ensures this meeting delivers maximum value.
- Stakeholder Presence: Having all decision-makers on-site prevents miscommunication later.
- Feature Survey: If you have a Feature & Re-establishment Survey from a land surveyor, please have it ready.
- Honest Budget Figures: Knowing your financial comfort zone allows us to suggest realistic materials.
Outcome
You will receive a detailed Fee Proposal. This document breaks down the design stages, associated costs, and the estimated timeline for your specific scope.
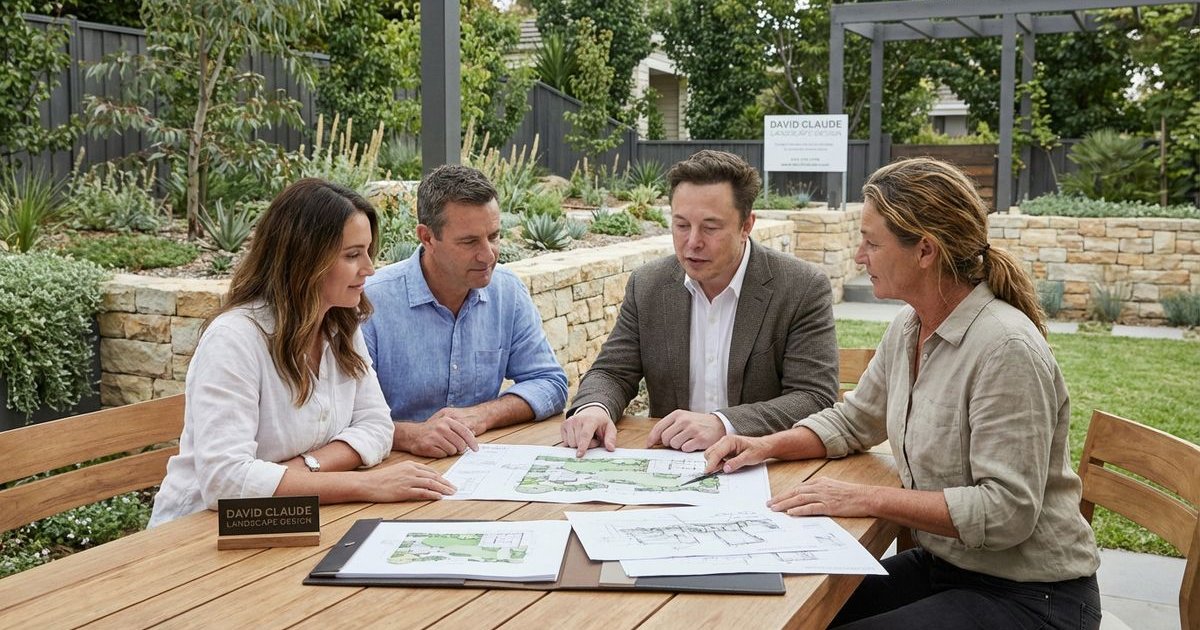
Stage 3: Concept Design
What Happens
The creative work officially launches once you approve the proposal. We use this phase to explore spatial solutions that turn site challenges into features.
Site Analysis & Modeling
- Digital Modeling: We often build a 3D massing model to understand how shadows fall across sloped sections.
- Regulatory Check: A deep review of ResCode requirements regarding overlooking and setback regulations.
- Survey Integration: We overlay the Licensed Surveyor’s data to ensure accuracy.
Design Development
- Spatial Planning: Grouping functions (dining, play, utility) to maximize usable flat space.
- Material Palette: Selecting durable materials that suit Melbourne’s variable climate.
- Value Management: Adjusting the scope to keep the concept aligned with your investment goals.
What to Expect
The deliverables in this stage are visual and exploratory.
- Scaled 2D Plans: A bird’s-eye view of the proposed layout.
- Mood Boards: Images of plants and hardscapes to convey the atmosphere.
- Perspective Sketches: Visualizations to help you imagine the finished levels.
Client Involvement
Your input here is critical to the project’s success. We rely on your honest feedback to refine the direction.
- Review: Take time to walk your property with the plans in hand.
- Critique: Tell us what excites you and what concerns you.
- Select: Choose your preferred layout option so we can proceed to detailing.
Stage 4: Detailed Design
What Happens
We translate the approved concept into a technical instruction manual for construction. This phase bridges the gap between a pretty picture and a buildable reality.
Technical Documentation
- Setout Plans: Precise dimensions for every wall, step, and garden bed.
- Lighting Plans: Circuit layouts for low-voltage garden lighting.
- Surface Grading: Detailed levels to ensure water flows away from your home.
- Construction Details: Cross-sections showing how paving meets decking or how retaining walls are waterproofed.
Planting & Material Schedules
- Botanical Specification: Exact species names, pot sizes (e.g., 300mm vs. 45L), and densities.
- Hardscape Specifications: Supplier details for pavers, timber, and custom steelwork.
Engineering Coordination
- Structural Requirements: We brief structural engineers for any permit-triggering retaining walls or decks.
- Drainage Design: Coordination with hydraulic engineers if your council requires a Stormwater Management Plan.
The Value of Detail
Comparing a Concept Plan to Detailed Documentation highlights the difference in utility.
| Feature | Concept Plan Only | Detailed Documentation |
|---|---|---|
| Purpose | Visualizing the idea | Building the project |
| measurements | General / Approximate | Exact dimensions |
| Materials | Generic (e.g., “Stone”) | Specific (e.g., “Bluestone Sawn Paver 600x300”) |
| Contractor Quotes | Estimates / Variable | Fixed Price / Accurate |
| Permits | Insufficient | Application Ready |
Review Process
We present the full package for your final approval. You can verify that all previous feedback has been incorporated before we finalize the drawings for tender.
Stage 5: Documentation and Approvals
What Happens
Melbourne’s planning landscape can be complex. We handle the bureaucracy so you don’t have to dealing with technical queries from council planners.
Permit Streams
- Planning Permits: Required for vegetation removal or works in overlay zones (e.g., Heritage or Environmental Significance).
- Building Permits: Mandatory for decks, pergolas, and structural retaining walls.
- Report and Consent: Necessary if you want to build over an easement or outside standard siting regulations.
Tender Documentation
- Scope of Works: A written document defining exactly what the contractor must deliver.
- Quote Analysis: We can help you compare “apples to apples” when reviewing builder quotes.
Timeline Realities
Approval times depend heavily on your specific council.
- VicSmart Applications: 10 business days (for simple, eligible applications).
- Building Permits: 2-4 weeks via a private building surveyor.
- Standard Planning Permits: 3-6 months for complex assessments in Boroondara or Nillumbik.
Stage 6: Construction Phase
Options for Implementation
You retain control over how the build is managed. We offer flexibility based on your experience level and available time.
Option A: Design Only
- Your Role: You hire the landscaper and manage the contract.
- Our Role: We hand over the plans and step back.
- Best For: Experienced renovators with trade contacts.
Option B: Design and Build Management
- Your Role: You enjoy the process while we handle the daily logistics.
- Our Role: We administer the contract, inspect quality, and certify progress payments.
- Best For: Busy professionals who want quality assurance.
Our Role During Construction
We act as your advocate on site if engaged for management.
- Defect Rectification: Spotting issues before they are covered up.
- Material Checks: Ensuring the plants delivered match the species and quality specified.
- RFI Management: Answering “Requests for Information” from the builder immediately to keep the project moving.
Timeline Summary
This overview provides a realistic look at project duration for a standard residential landscape in Melbourne.
| Stage | Typical Duration |
|---|---|
| Initial Consultation | 1 Week |
| Concept Design | 3-5 Weeks |
| Detailed Design | 4-6 Weeks |
| Permit Processing | 2 Weeks - 6 Months (Council Dependent) |
| Construction | 2-6 Months (Scope Dependent) |
Note: Complex sites with significant slope or heritage constraints will naturally extend these timeframes.
Investment in Design
Investing in professional design typically represents 8-15% of the total project budget. This upfront cost pays dividends during the build.
- Cost Certainty: detailed plans allow for fixed-price contracts rather than open-ended estimates.
- Problem Prevention: Resolving drainage issues on paper is far cheaper than fixing them in the ground.
- Property Value: A cohesive, well-engineered landscape significantly increases resale appeal in the competitive Melbourne market.
Ready to Begin?
Understanding the road ahead makes the destination much easier to reach. A structured process protects your investment and ensures your garden can handle the demands of your specific site.
Contact us today to discuss your property and take the first step toward a landscape that works as good as it looks.